Aim:
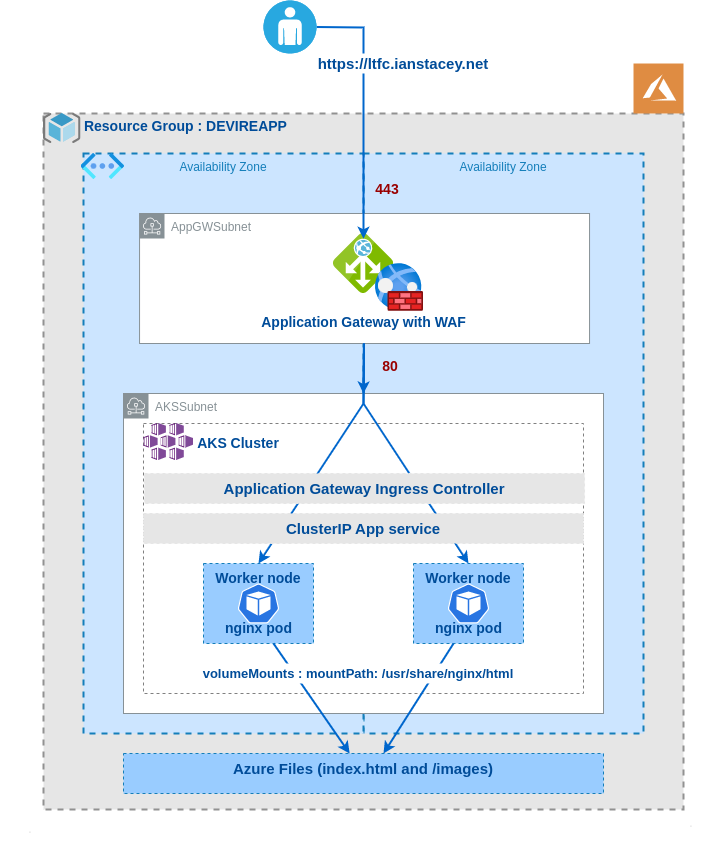
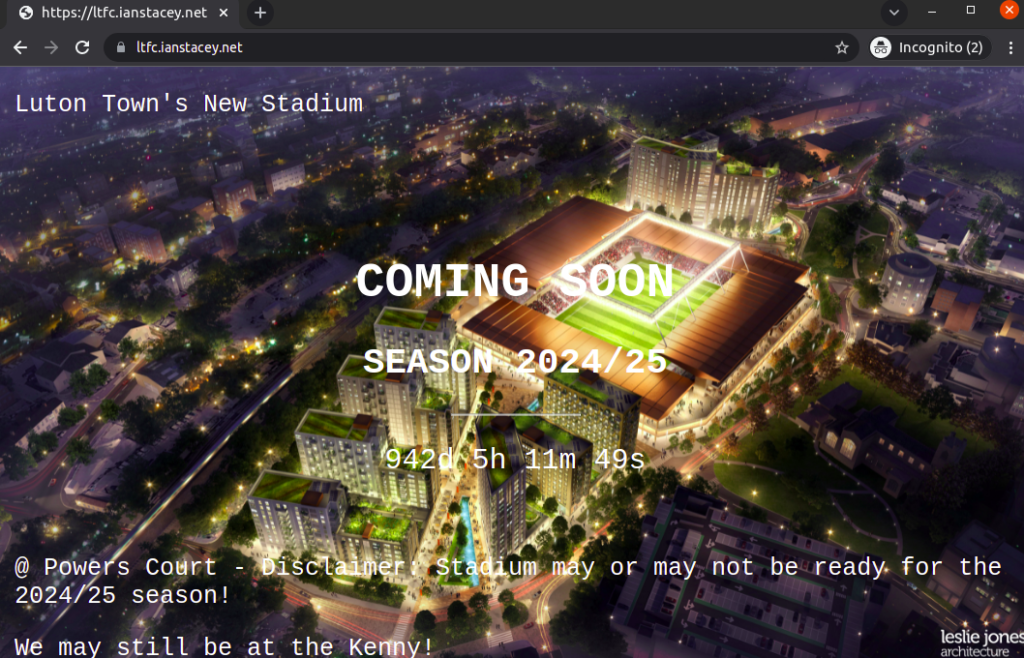
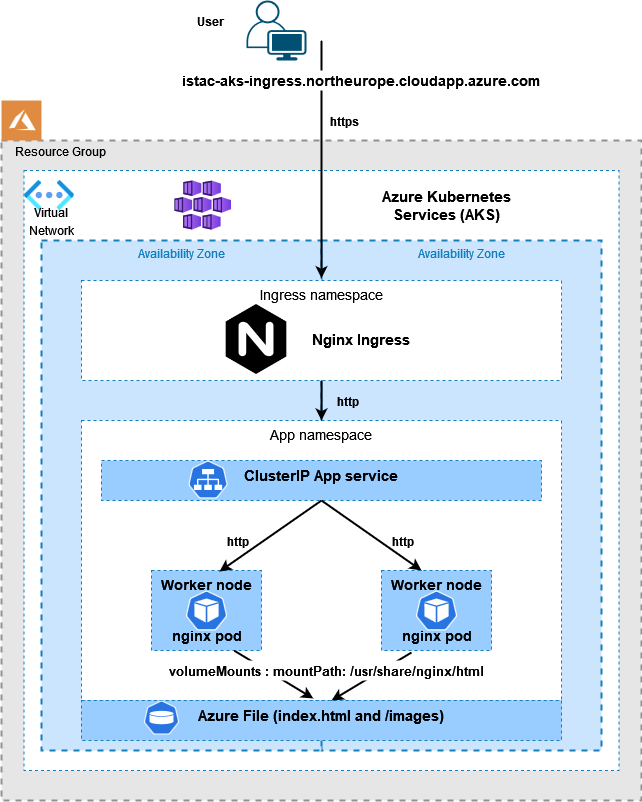
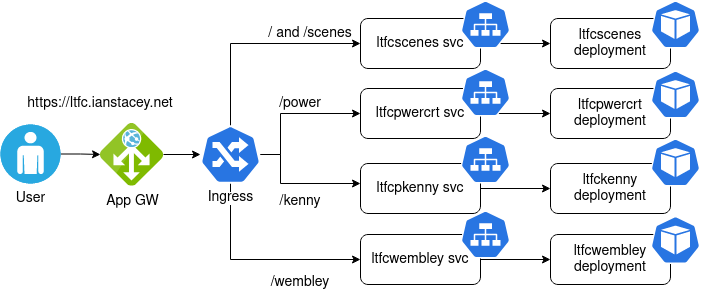
Building on my last blog post https://ianstacey.net/2022/01/10/deploy-web-app-in-azure-kubernetes-service-aks-updated/ I wanted to enable path based routing in my cluster. Requests made to different path will be routed to different backend pods/services as shown below:
Create Kubernetes Deployments and Objects:
Created four different deployments and services, as stored in GitHub at https://github.com/iastac84/ltfc-sample-webapp, one of the deployments below:
apiVersion: apps/v1
kind: Deployment
metadata:
name: ltfckenny
namespace: luton
labels:
app: ltfckenny
spec:
replicas: 1
selector:
matchLabels:
app: ltfckenny
template:
metadata:
labels:
app: ltfckenny
spec:
containers:
- name: ltfckenny
image: nginx
volumeMounts:
- name: kenny-index
mountPath: /usr/share/nginx/html/index.html
subPath: index-kenny.html
- name: images
mountPath: /usr/share/nginx/html/images
subPath: images
volumes:
- name: kenny-index
azureFile:
secretName: azure-secret
shareName: isnginxlt
readOnly: false
- name: images
azureFile:
secretName: azure-secret
shareName: isnginxlt
readOnly: false
---
apiVersion: v1
kind: Service
metadata:
name: ltfckenny
namespace: luton
spec:
selector:
app: ltfckenny
ports:
- protocol: TCP
port: 80
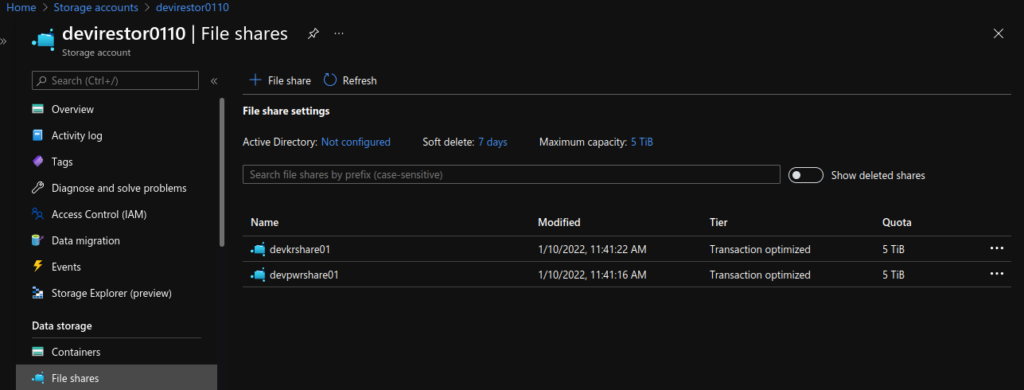
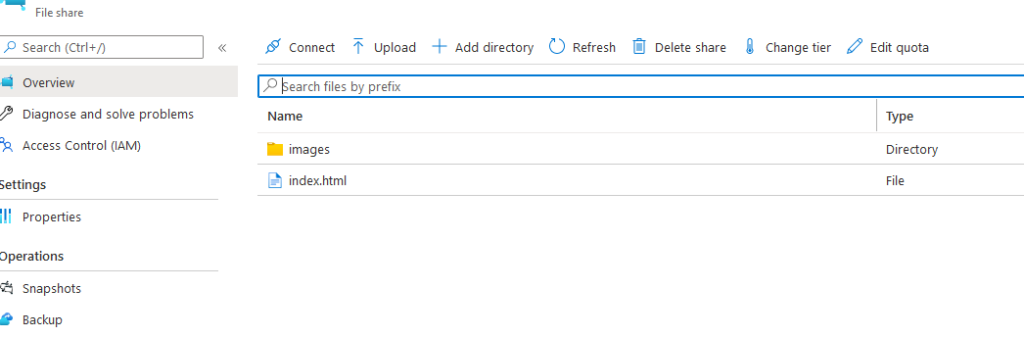
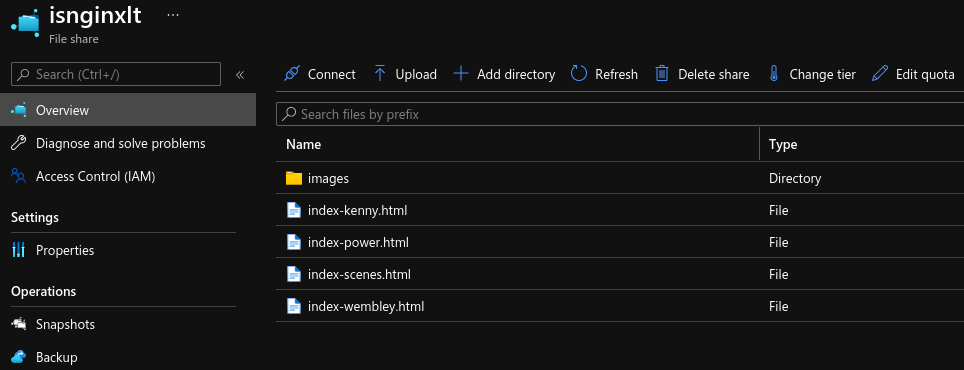
targetPort: 80Note the use of subPath in the volumesMounts section, I did this so I would only require one Azure File share, one place to upload the index-*.html and images files.
Created the deployments with kubectl apply -f as below:
kubectl apply -f luton-power-deployment.yaml
kubectl apply -f luton-kenny-deployment.yaml
kubectl apply -f luton-scenes-deployment.yaml
kubectl apply -f luton-wembley-deployment.yaml
Create the Ingress:
Using https://github.com/iastac84/ltfc-sample-webapp/blob/main/ingress.yaml and created with kubectl apply -f ingress.yaml
apiVersion: networking.k8s.io/v1
kind: Ingress
metadata:
annotations:
kubernetes.io/ingress.class: azure/application-gateway
appgw.ingress.kubernetes.io/backend-path-prefix: "/"
generation: 1
name: ltfc-ingress
namespace: luton
spec:
rules:
- http:
paths:
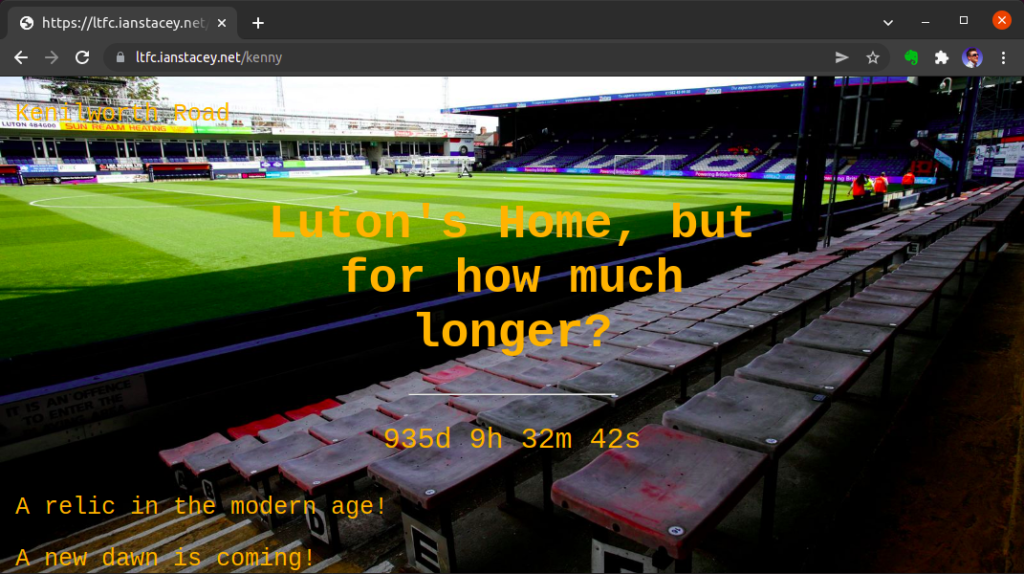
- path: /kenny
pathType: Exact
backend:
service:
name: ltfckenny
port:
number: 80
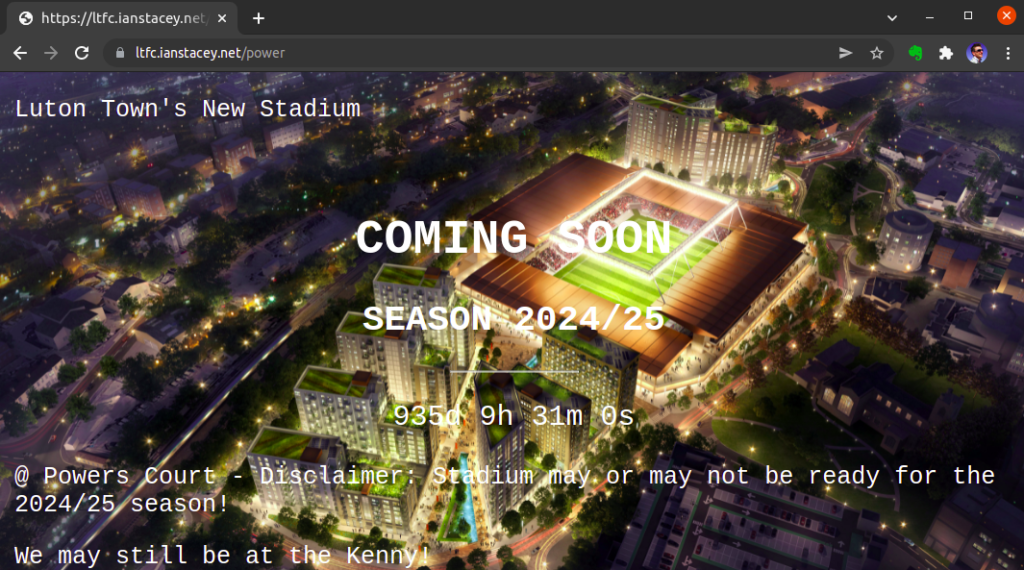
- path: /power
pathType: Exact
backend:
service:
name: ltfcpwercrt
port:
number: 80
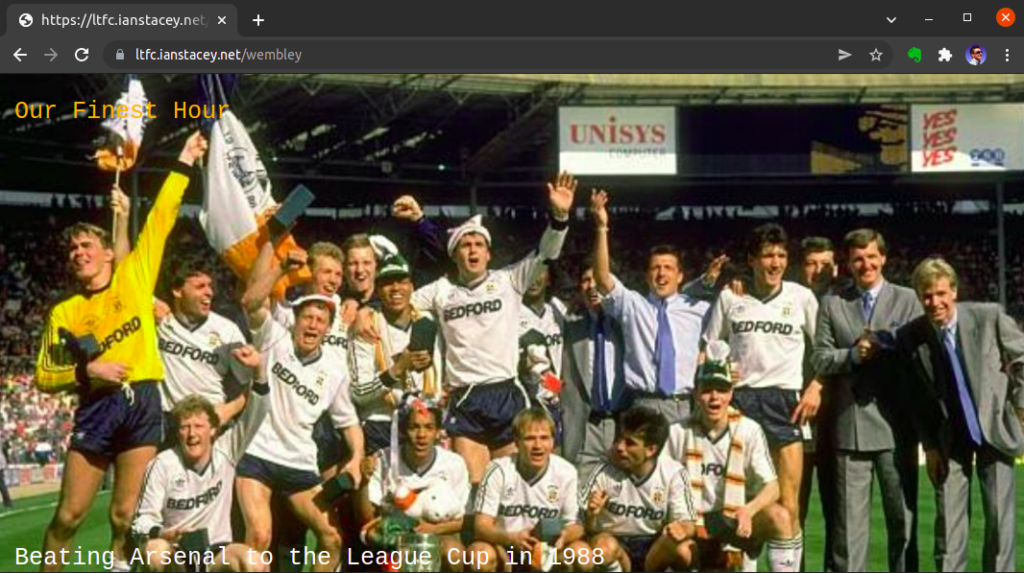
- path: /wembley
pathType: Exact
backend:
service:
name: ltfcwembley
port:
number: 80
- path: /scenes
pathType: Exact
backend:
service:
name: ltfcscenes
port:
number: 80
- path: /
pathType: Exact
backend:
service:
name: ltfcscenes
port:
number: 80Note the annotation of appgw.ingress.kubernetes.io/backend-path-prefix: “/” , this is required as the paths defined above do not exist on the backends, without this annotation we will receive 502 Bad Gateway errors.
$ kubectl get all -n luton
NAME                               READY   STATUS    RESTARTS   AGE
pod/ltfckenny-57df74c5d-xw8pd      1/1     Running   0          138m
pod/ltfcpwercrt-59f8df7768-h29pn   1/1     Running   0          137m
pod/ltfcpwercrt-59f8df7768-lzq8r   1/1     Running   0          137m
pod/ltfcscenes-5f858456f8-zqdns    1/1     Running   0          137m
pod/ltfcwembley-764696f5c8-dwc99   1/1     Running   0          137m

NAME                  TYPE        CLUSTER-IP     EXTERNAL-IP   PORT(S)   AGE
service/ltfckenny     ClusterIP   10.0.171.202   <none>        80/TCP    4h16m
service/ltfcpwercrt   ClusterIP   10.0.158.150   <none>        80/TCP    4h23m
service/ltfcscenes    ClusterIP   10.0.173.150   <none>        80/TCP    4h14m
service/ltfcwembley   ClusterIP   10.0.79.15     <none>        80/TCP    4h12m

NAME                          READY   UP-TO-DATE   AVAILABLE   AGE
deployment.apps/ltfckenny     1/1     1            1           4h16m
deployment.apps/ltfcpwercrt   2/2     2            2           4h23m
deployment.apps/ltfcscenes    1/1     1            1           4h14m
deployment.apps/ltfcwembley   1/1     1            1           4h12m

NAME                                     DESIRED   CURRENT   READY   AGE
replicaset.apps/ltfckenny-57df74c5d      1         1         1       4h16m
replicaset.apps/ltfcpwercrt-59f8df7768   2         2         2       4h23m
replicaset.apps/ltfcscenes-5f858456f8    1         1         1       4h14m
replicaset.apps/ltfcwembley-764696f5c8   1         1         1       4h12m


$ kubectl describe ingress ltfc-ingress -n luton
Name:             ltfc-ingress
Labels:           <none>
Namespace:        luton
Address:          52.164.122.170
Default backend:  default-http-backend:80 (<error: endpoints "default-http-backend" not found>)
Rules:
  Host        Path  Backends
  ----        ----  --------
  *
              /kenny     ltfckenny:80 (10.10.20.36:80)
              /power     ltfcpwercrt:80 (10.10.20.10:80,10.10.20.39:80)
              /wembley   ltfcwembley:80 (10.10.20.50:80)
              /scenes    ltfcscenes:80 (10.10.20.17:80)
              /          ltfcscenes:80 (10.10.20.17:80)
Annotations:  appgw.ingress.kubernetes.io/backend-path-prefix: /
              kubernetes.io/ingress.class: azure/application-gateway
Events:       <none>
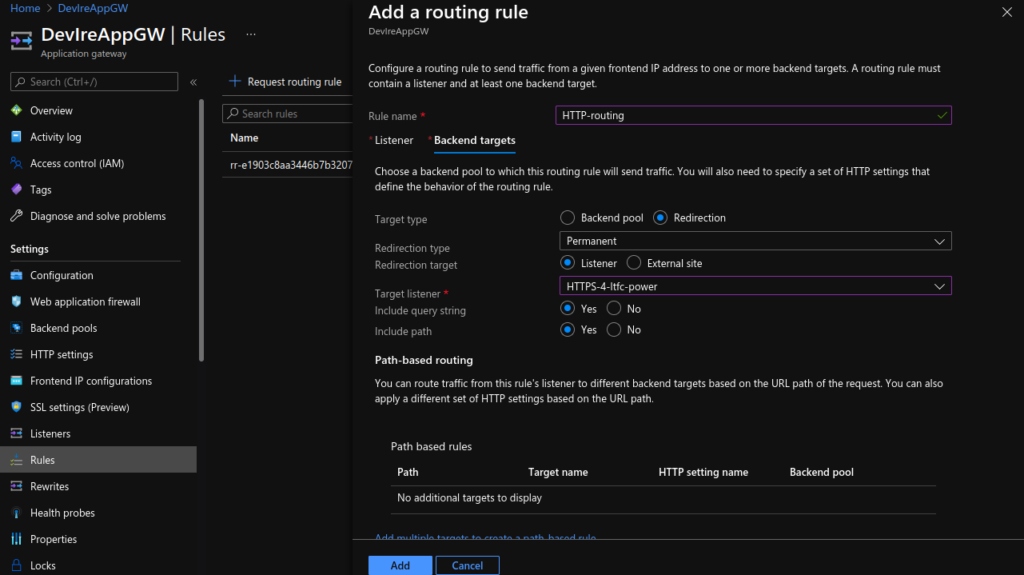
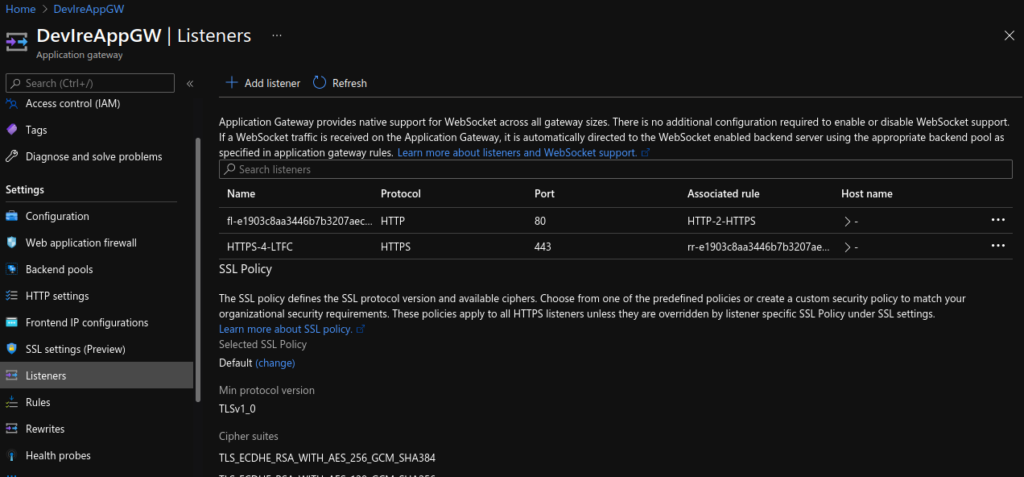
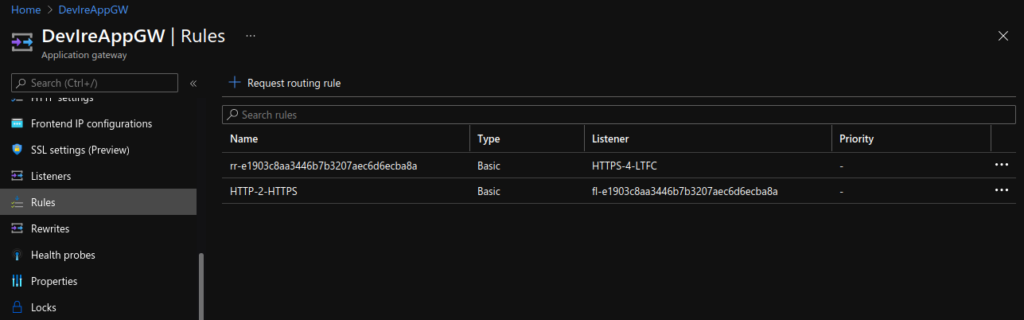
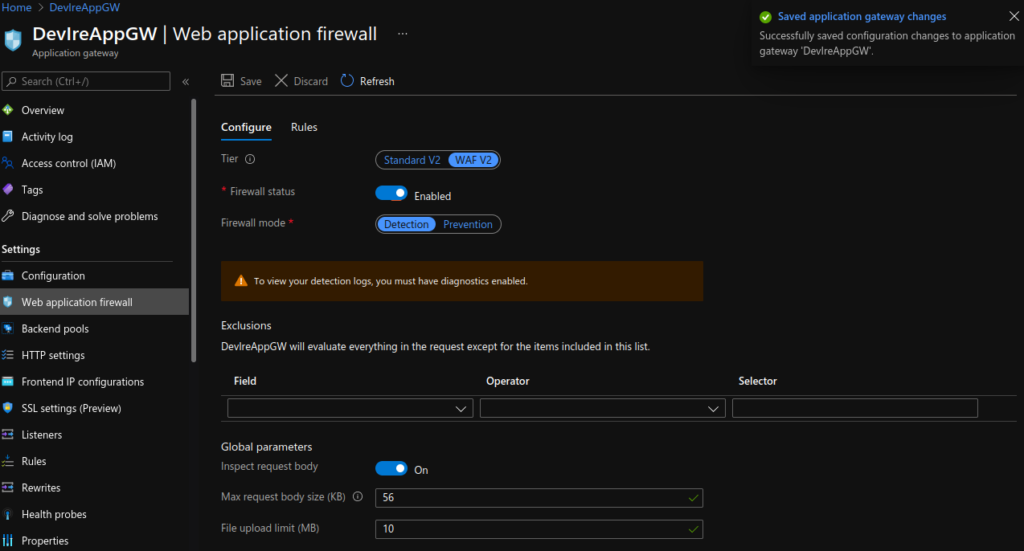
Update Application Gateway:
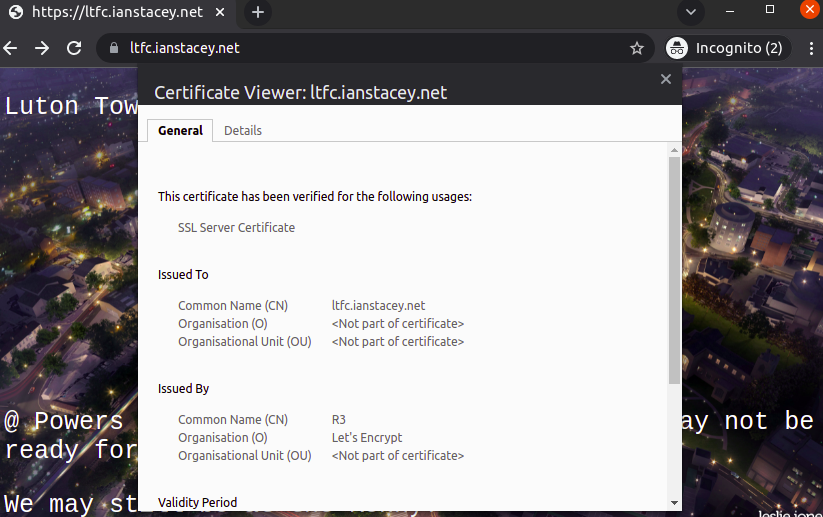
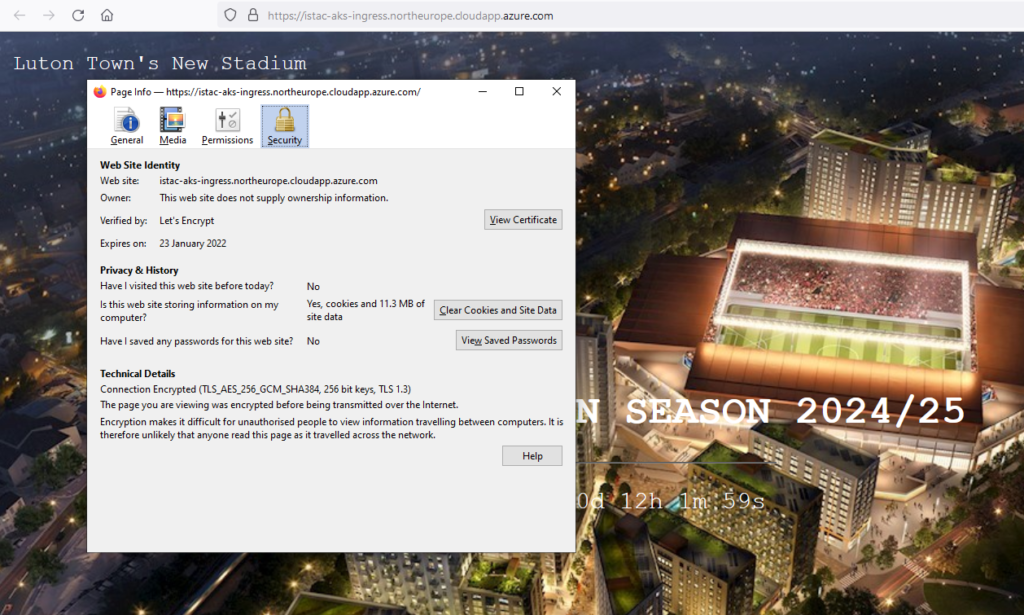
Lastly, I updated the Application Gateway (AGW) via the Azure portal, creating a new HTTPS listeners, uploading my SSL cert, updating the rules and creating a redirect for HTTP to HTTPS. Doing this manually is not ideal as if the ingress is updated (for instance with another apply) these changes will be lost as the ingress automatically updates the AGW.
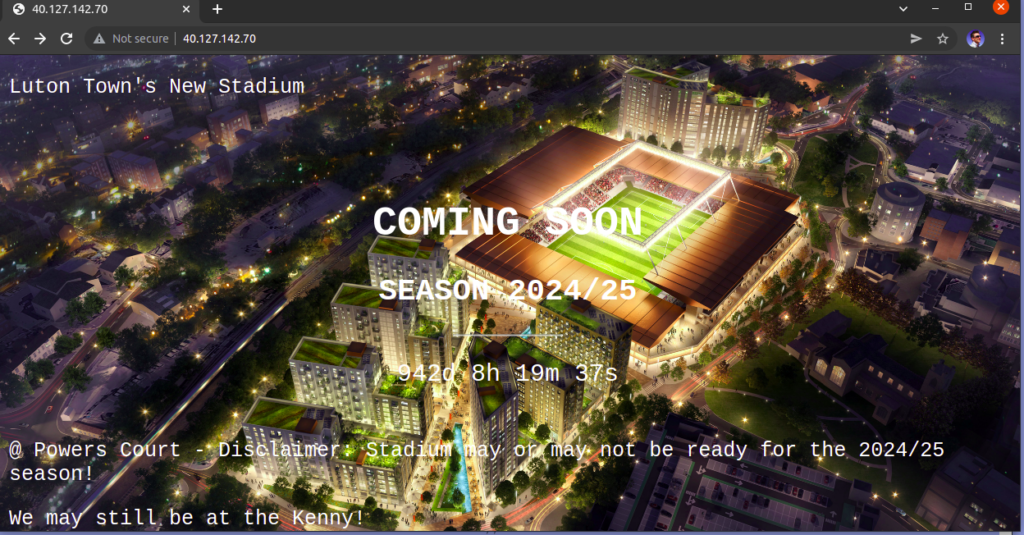
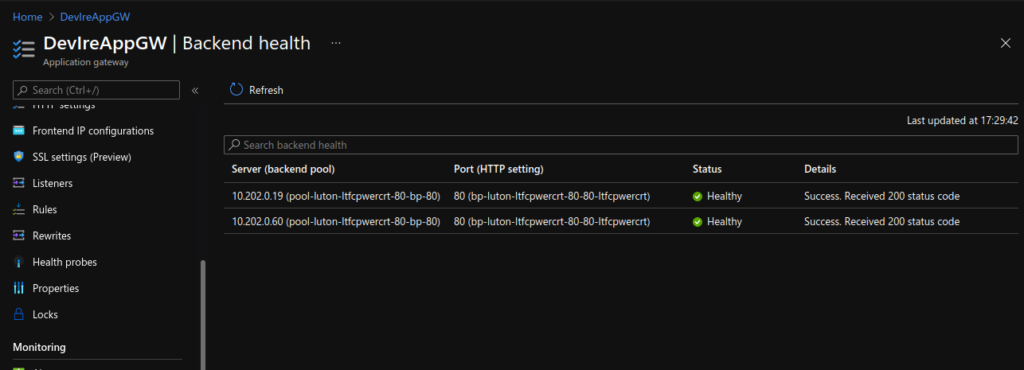
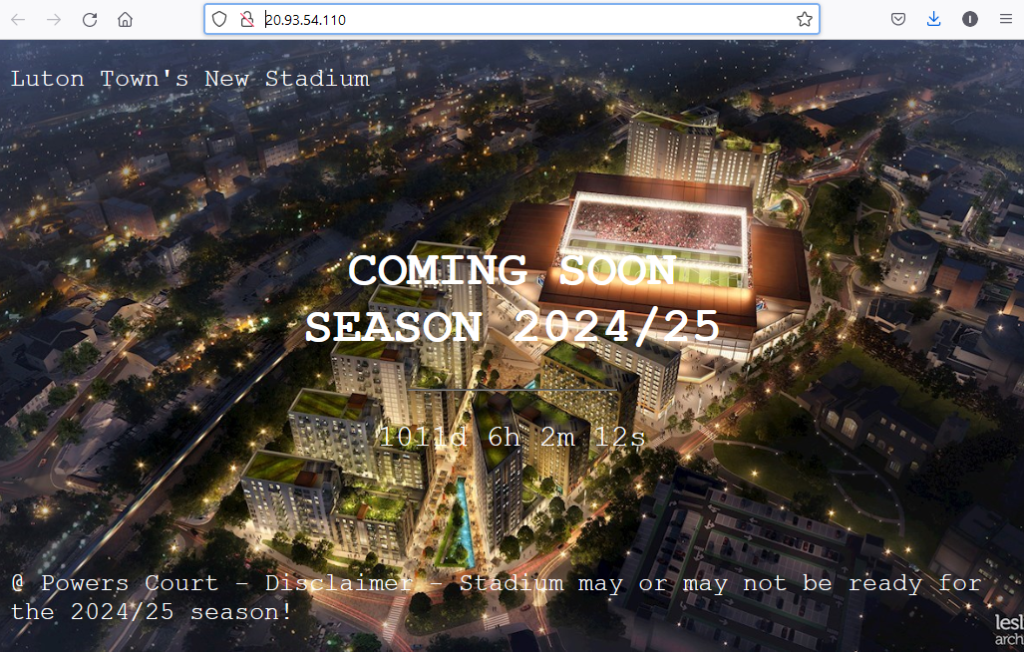
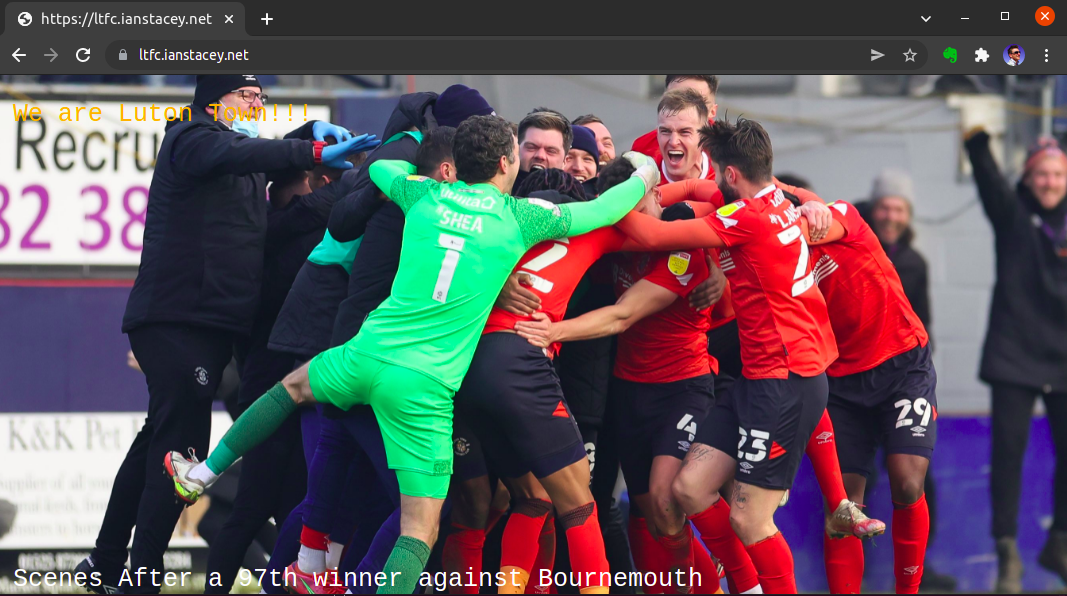
Testing